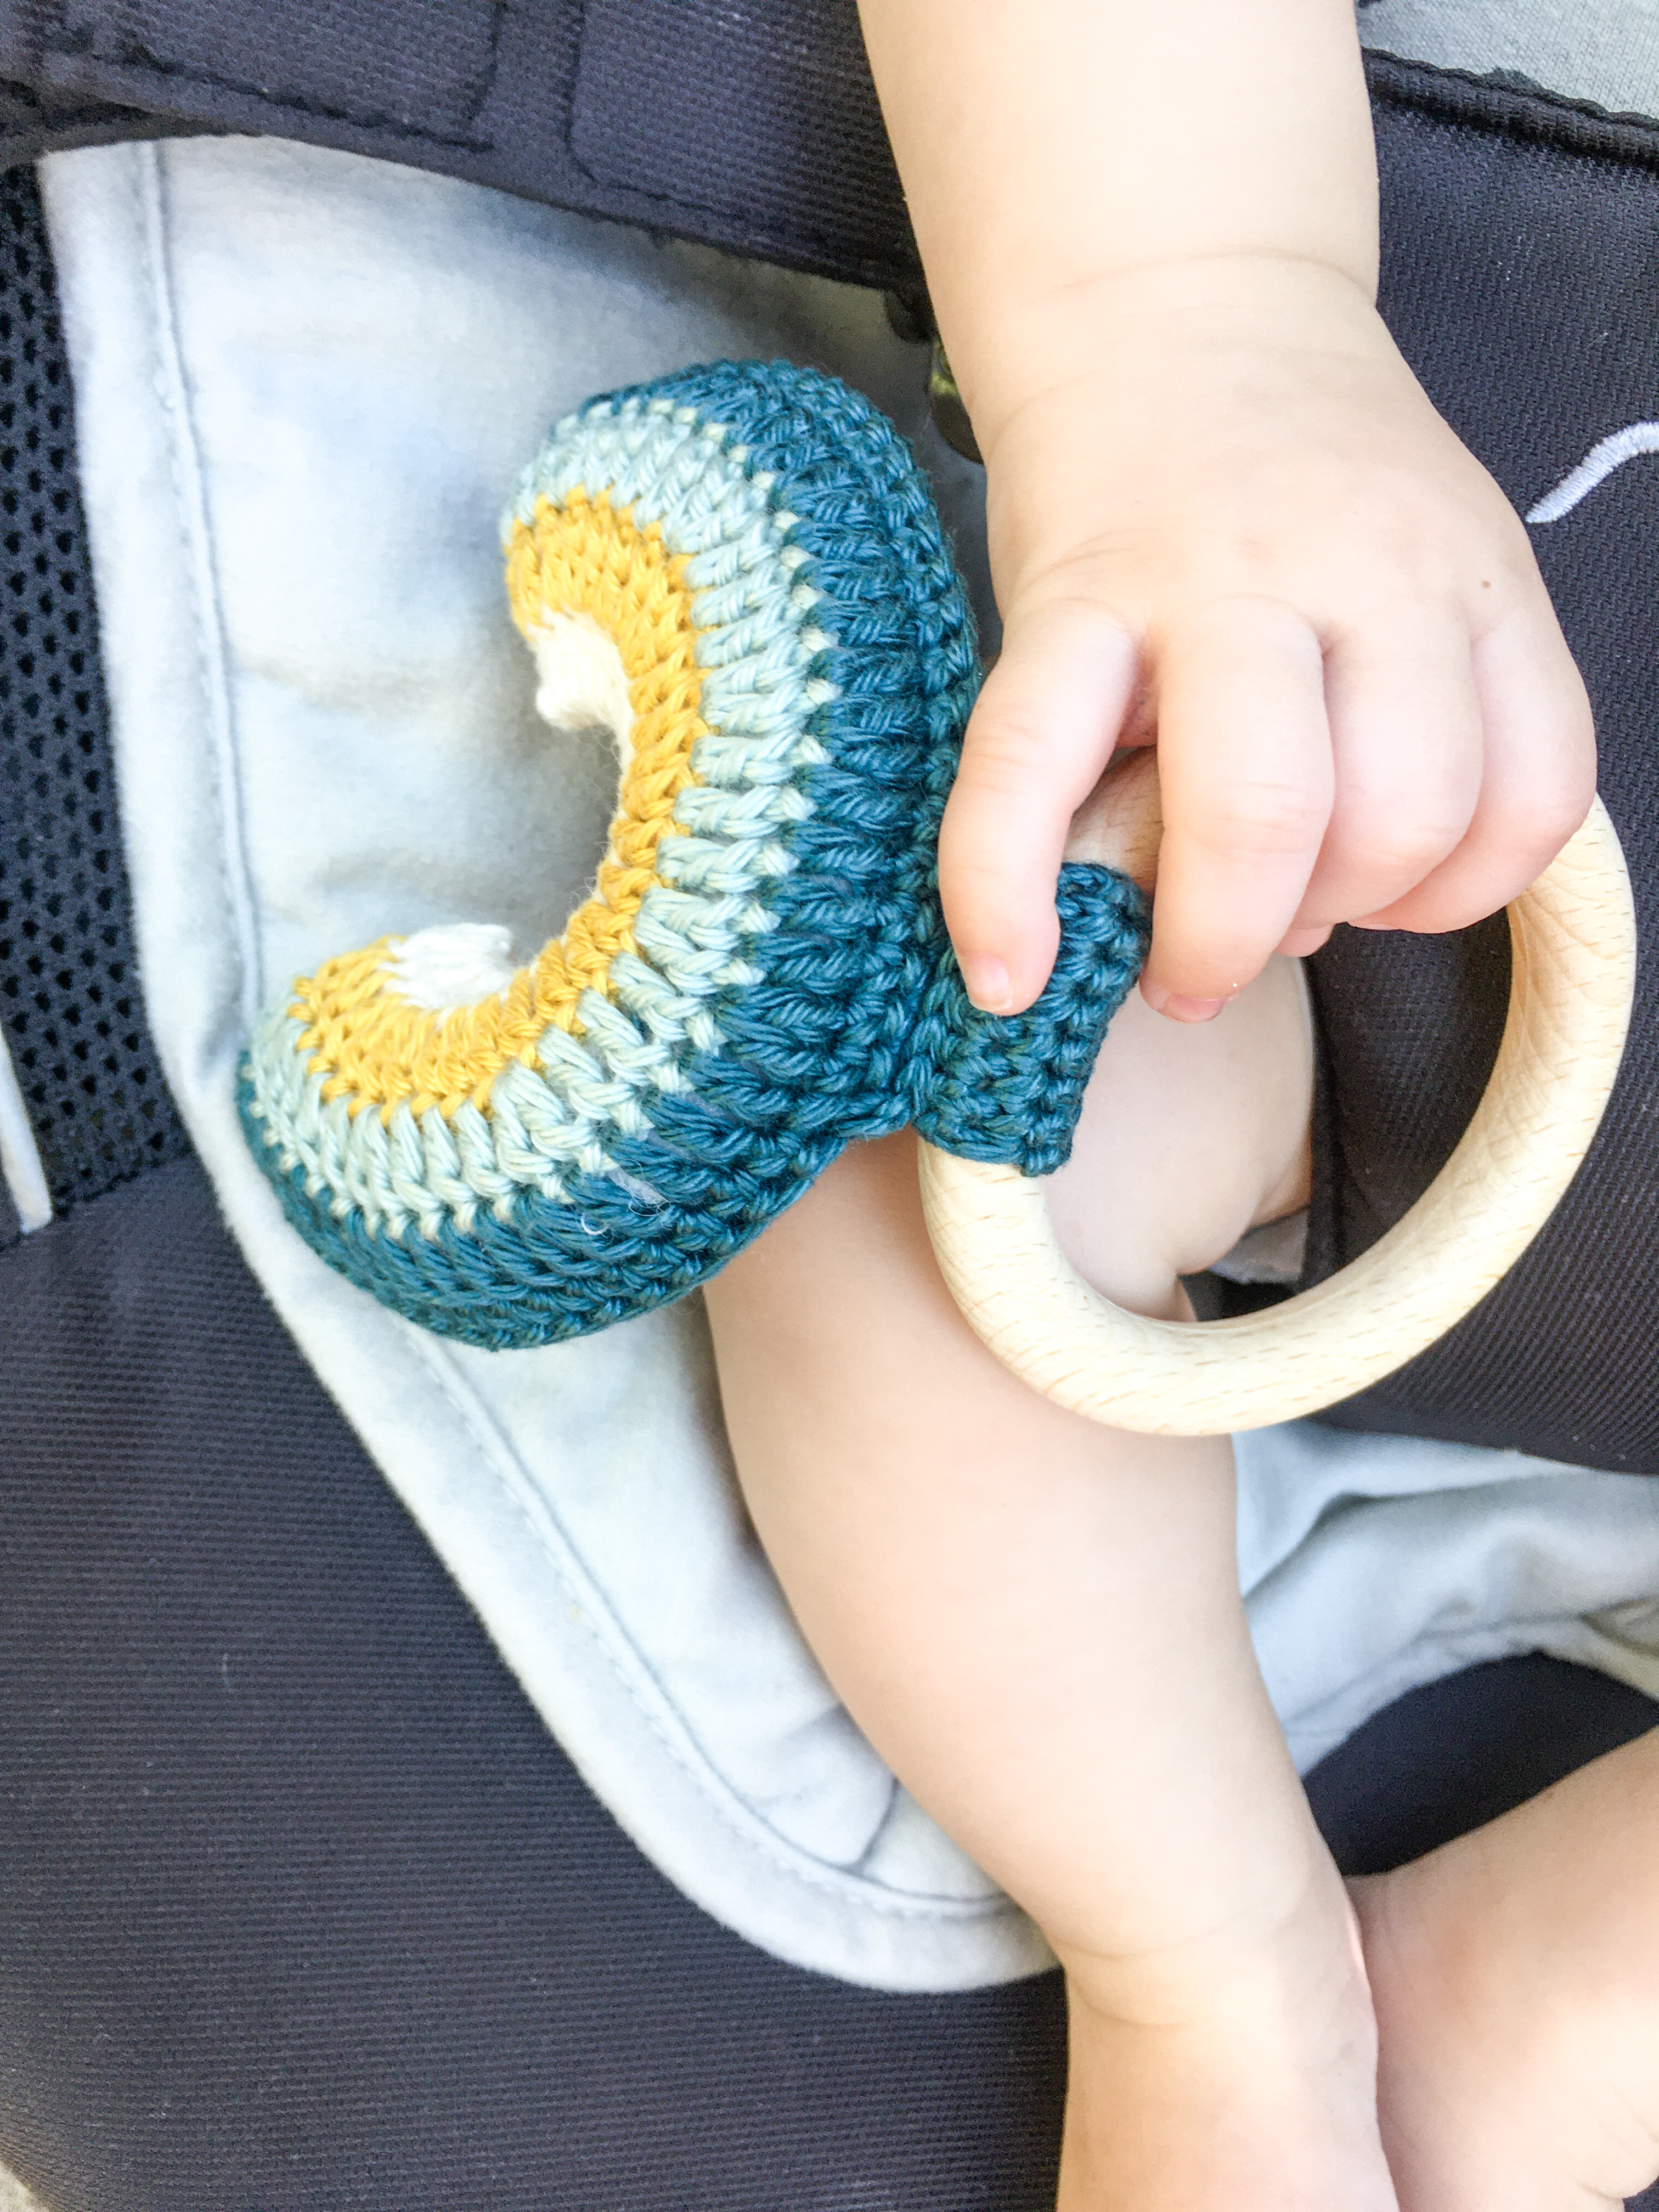
It seems that since my little boy was born I only want to make small toys for him to play with. Not that he really values them right now, as long as it makes a noise and he can put it in his mouth he is happy 🙂 But still, I never thought I would like it that much to make all these little things, I always saw myself more as a blanket-girl.
Het lijkt wel alsof ik, sinds de baby is geboren, alleen nog maar speelgoed voor hem wil haken. Niet dat het hem wat uitmaakt, zolang het geluid maakt en hij het in zijn mond kan stoppen is hij blij 🙂 Maar toch, ik had niet verwacht dat ik het zo leuk zou vinden om al die kleine dingen te maken, ik zag mijzelf toch meer als iemand die van dekens haken houdt.
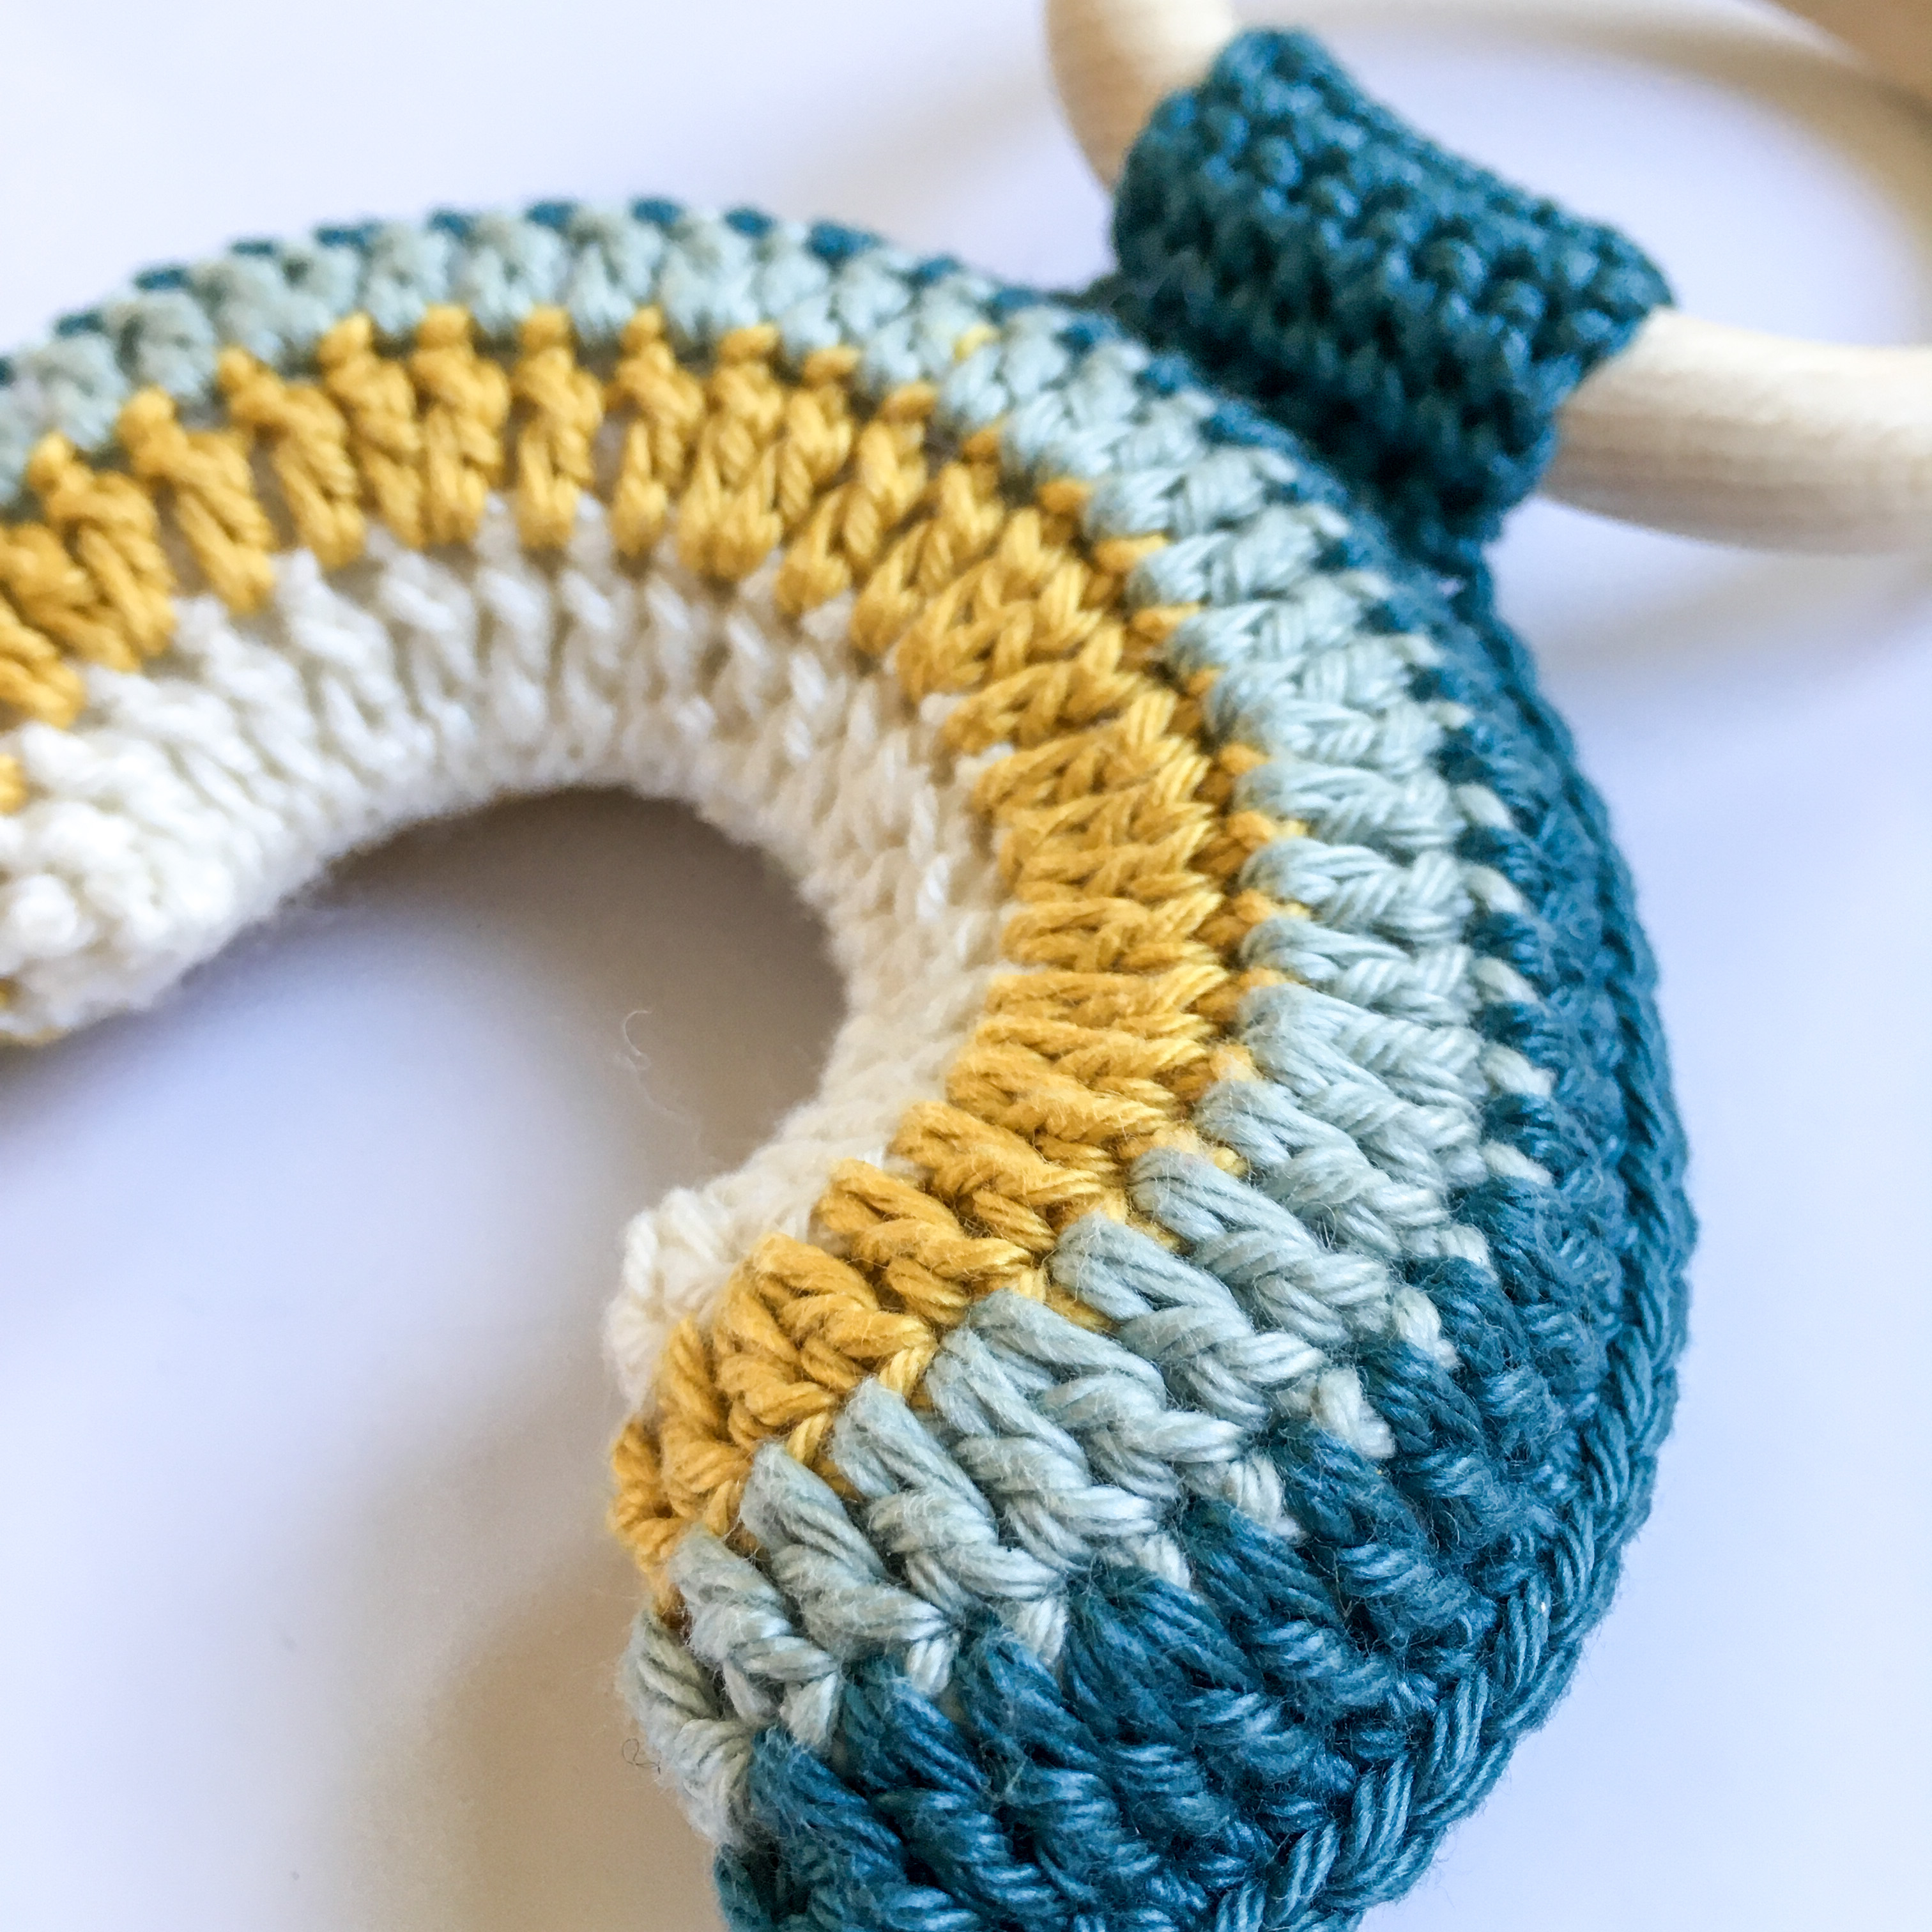
Our babyboy was a rainbowbaby, a double rainbow even. I did not know this term, only heard it after he was born, but I think it is perfect. And what more could I make for my little rainbowboy than this rainbow for him to play with? Furthermore, this pattern is really easy and quick to work up and it makes the perfect present for any newborn.
Onze zoon was een regenboogbaby, een dubbele regenboog zelfs. Ik kende die term niet en hoorde hem pas na de geboorte maar ik vind hem heel mooi. Dus toen ik zat te broeden op een nieuw speelgoedje voor hem leek een regenboog mij perfect! Daarnaast is het een simpel patroon dat snel te maken is en het perfecte kraamcadeautje voor iedere baby!
Needed for this pattern:
- Yarn (I used Scheepjes Catona)
- Hook size 3 mm (or a size that fits the yarn you are using)
- Needle
- Wooden ring (I used a ring with a diameter of 7 cm)
- Filling
- A small rattle bead
Nodig voor dit patroon:
- Garen (ik gebruikte Scheepjes Catona)
- Haaknaald 3 mm
- Naald
- Houten ring (ik gebruikte een ring met een diameter van 7 cm)
- Vulling
- Een kleine rammelkraal
Pattern notes:
– The full PDF of this pattern, without abbreviations and including a lot of photo’s and how-to’s, can be found on
Ravelry and
Etsy.
Vooraf:
– Een PDF van dit patroon, zonder afkortingen en met veel foto’s en uitleg, kun je vinden op Ravelry en Etsy.
The pattern:
1. ch 28, close with a ss to make a round
2. 48 dc in the round (48 stitches)
3. begin dc, 1 dc in the next 2 stitches, 2 dc in the next. Repeat all around (3 dc, dc2), close the round and weave in the ends (60 stitches)
4. begin dc, 1 dc in the next 3 stitches, 2 dc in the next. Repeat all around (4 dc, dc2). close the round and weave in the ends (72 stitches)
5. begin dc, 1 dc in the next 5 stitches, 2 dc in the next. Repeat all around (6 dc, dc2), close the round with a ss in the ch of the begin dc. (80 stitches)
6. fold in half, with your yarn in the right hand corner, 1 ch, sc in the top of both sides to close the top of the rainbow. If you don’t want to attach the rainbow to a wooden ring, continue untill the left hand corner, cut your yarn, weave in the ends and continue with step 10.
7. make 25 sc from the right hand corner. (ch 1, turn, 7 sc), repeat this untill you have a rectangle big enough to put around the wooden ring. Make sure you end with your yarn on the side of the rainbow you’ve already closed.
8. fold the rectangle around the wooden ring and attach with ss in the first row of 7 sc you’ve made.
9. continue with closing the top of the rainbow with sc. When you reach the left hand corner; cut your yarn and weave in the ends.
10. sew the bottom of the rainbow close. Don’t forget to fill it and put a small rattle bead inside.
Enjoy your rainbow!
Het patroon:
1. 28 l, sluit met hv om cirkel te maken
2. 48 st in de cirkel (48 steken)
3. begin stokje, 1 st in de volgende 2 steken, 2 st in de volgende steek. Herhaal helemaal rond (1 st in de volgende 3 steken, 2 st in de steek daarna). Sluit de ronde en werk de draad weg (60 steken)
4. begin stokje, 1 st in de volgende 3 steken, 2 st in de volgende steek. Herhaal helemaal rond (1 st in de volgende 4 steken, 2 st in de steek daarna). Sluit de ronde en werk de draad weg (72 steken)
5. begin stokje, 1 st in de volgende 5 steken, 2 st in de volgende steek. Herhaal helemaal rond (1 st in de volgende 6 steken, 2 st in de steek daarna). Sluit de ronde en werk de draad weg (80 steken)
6. vouw dubbel, met de draad in de rechterhoek. 1 l, en daarna v in de bovenkant van beide helften samen om de regenboog te sluiten. Wanneer je de regenboog niet aan een houten ring vast wilt maken kun je v haken tot je bij de linkerhoek bent aangekomen, daarna hecht je de draad af en ga je verder met stap 10
7. maak 25 v langs de bovenkant. (1 l, keren, 7 v) herhaal dit tussen ( ) tot je een rechthoek hebt die groot genoeg is om om de houten ring heen te gaan. Zorg dat je eindigt met je draad aan de kant van de regenboog die je al gesloten hebt
8. vouw de rechthoek om de houten ring heen en maak vast met hv in de eerste rij van 7 v die je hebt gemaakt
9. ga verder met het sluiten van de bovenkant met v in beide helften. Wanneer je bij de linkerhoek bent aangekomen kun je afhechten.
10. naai de onderkant van de regenboog dicht. Vergeet niet de regenboog ondertussen op te vullen en eventueel een kleine rammelkraal erin te stoppen.


It's very nice!! 🙂
But I have a doubt, first ch 28 and then 48 dc?
Hi Raquel, yes, you attach the last chain to the first to create a big circle, and in that circle you make 48 dc, so don't make the dc's 'in' each chain, but rather around the chains.